Get Razor‑Sharp: The Straight-Razor Edge Lines You’ll Be Proud Of
Learn a simple, repeatable six-step method to create clean, crisp straight‑razor edge lines for beards, hairlines, or detailing. Practical, safety‑first tips and maintenance make results fast, reliable, and beginner‑friendly every time, with confident, steady strokes.
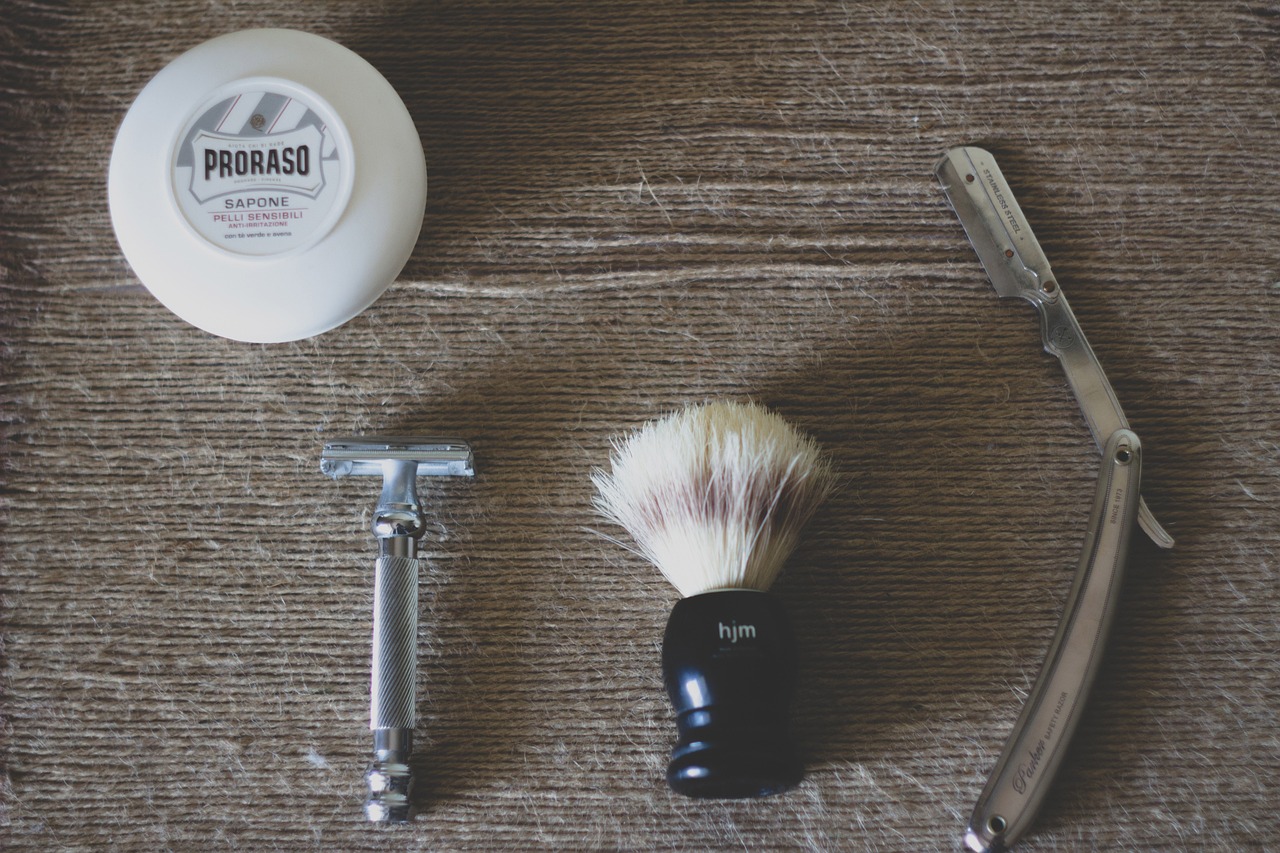
What You’ll Need

Mastering a Straight Razor Shave with Spartacus ASMR: Crunchy Thiers-Issard Sounds
Prepare the Canvas: Clean, Soften, and Map the Line
Want a flawless start? A clean, softened surface reduces nicks and gives laser accuracy — don’t skip mapping.Wash the area with warm water and a gentle cleanser to remove oils and dirt. Use a face wash or mild baby shampoo if you don’t have a specialty cleanser.
Soften the hair and open pores with a warm towel or brief steam for 1–3 minutes. Lay a warm (not scalding) towel over the area, or lean over a bowl of hot water—this makes the cut smoother and less tuggy.
Dry lightly with a towel, then mark the intended line using a washable marker or a light trimmer guide. Draw a faint guideline along the cheekbone or jaw to follow.
Stand back and check symmetry in the mirror from different angles before you touch the blade.
Essentials:

Grip and Stance: How to Hold the Razor Like a Pro
Bad grip, bad line — learn a small change that instantly improves control and reduces shaving errors.Hold the razor between your thumb and two or three fingers, letting the tang rest lightly against the pads of your fingers. Keep your wrist relaxed and align the blade with your forearm so strokes follow a single, controlled plane.
Position your body with the elbow slightly raised for steady micro-adjustments. Keep your shoulders relaxed and lean your head forward just enough to see the line clearly.
Use these quick checkpoints to lock in form:
Practice without cutting — trace the line with the spine of the razor to rehearse motion and feel.

Find the Perfect Angle: The 30-Degree Sweet Spot
Angle matters — too steep and you dig, too flat and you smear. Here’s the goldilocks angle.Find the 30° sweet spot by tilting the blade so the edge meets skin like a gentle slice. Test the feel with a light pass; increase pressure only when the blade bites smoothly.
Most straight-razor work is best at roughly a 25–35 degree angle between blade and skin. Start shallow and increase pressure slightly until the blade bites comfortably. Use the tip of the blade for corners and the belly for long, sweeping lines. Keep consistent angle through the stroke; inconsistent angling leads to ragged edges or cuts. If unsure, practice on the back of your hand to internalize the feel.

Stretch, Slide, and Stroke: Three Movements to Perfect Lines
Want a single trick to cleaner lines? Combine gentle skin tension with smooth single strokes — fewer passes, fewer mistakes.After each stroke, wipe the blade to maintain visibility and reduce drag.

Consistency and Symmetry: Measure Twice, Cut Once
Symmetry isn’t luck — it’s method. Use reference points to make both sides mirror-perfect.Work methodically from one defined anchor point — for example, the corner of your mouth or the temple — and mirror that distance and angle on the other side.
Stand back and check alignment frequently. Step away from the mirror or use a hand mirror to view alternative angles. Use visual landmarks such as ears, eyebrows, and the tip of the nose to guide you.
Shorten or refine lines in tiny increments rather than trying to fix large mistakes. Make small, repeatable strokes and reassess after each pass.
If you’re trimming a hairline, compare both sides using a comb or finger as a ruler.

Finish and Maintain: Clean Edges and Razor Care
A great line is only half the job — soothe the skin and treat the blade so your next shave is even better.Rinse the area with cool water to close pores. Apply a gentle, alcohol-free aftershave or balm (a pea-sized dab) to reduce irritation and make the line pop. Use a styptic pencil on any small nicks to stop bleeding fast.
Rinse the razor under warm water to wash away hairs and residue. Dry carefully with a soft towel—pat the spine and blade, don’t rub. Oil the blade lightly with mineral or camellia oil to prevent rust. Store the razor in a dry, ventilated place or a dedicated case to protect the edge.

Your Turn: Practice, Patience, Perfection
Follow the six steps slowly, focus on feel over force, and care for your razor; with steady practice you’ll create crisp straight‑razor edge lines. Give it a try, share your results, and join the community refining their craft today proudly.


Loved the “Prepare the Canvas” section — made me realize how sloppy my prep was.
I used to just splash cold water and go full speed.
Now I wash, use warm towels, map the line with a light pencil mark and it REALLY helps.
Also, mapping saved me from that asymmetrical eyebrow disaster 😂
Thanks for making the prep sound not boring!
Amazing to hear mapping helped! A light pencil or eyebrow pencil as a guide can be a game-changer for symmetry.
Same here — mapping + warm towel is my new pre-game. No more wonky lines.
This guide is solid. I’m on week 4 of practicing and I can already see cleaner edges.
The ‘Your Turn’ bit is realistic — patience actually matters.
Two things I wish I’d known earlier:
1) change stroking speed based on hair density
2) take breaks if your hand is shaking
Keep the intermediate tips coming!
Taking breaks saved my neck from becoming a cricket match. Also do short practice sessions daily rather than marathon weekends.
Love the progress update — speed and rest breaks are underrated. Will add a section on pacing and fatigue management. Congrats on week 4!
Nice breakdown — the 30-degree tip finally clicked for me. I was angling too steep and getting tugging. Tried the sweet spot from step 3 and lines were cleaner instantly. Quick Q: do you recommend a slightly different angle for sensitive areas?
I second this. 30° is great for most spots but inner neck/near ears I drop it a bit and slow the stroke down.
Agree with admin. Also try a single-pass approach first, then go back if needed. Less is more with sensitive skin.
Good question — for sensitive areas I usually suggest starting a few degrees shallower (around 25–28°) and use lighter pressure. Stretch the skin more and focus on short, controlled strokes.
Great read. Quick thing — after finishing, do you recommend any specific post-shave product? I get red bumps if I use alcohol-based aftershaves.
I use an aloe-cucumber gel and it’s been gentle enough. No bumps since switching.
Avoid alcohol-based products if you get irritation. Try an unscented soothing balm with aloe or witch hazel (alcohol-free), and a light moisturizer. Cold compresses help reduce immediate redness.
Thanks! I’ll try the aloe gel — sounds promising.
This guide made me realise I was rushing everything. Practiced slow for 20 mins today and yeah — way better lines. Still gotta work on that pesky corner near the jaw tho. grr. Also, typos in step 2? ‘Hold the razor like pro’ missing ‘a’ — minor lol.
Jaw corners are tricky. A mirror at chest level (so your head is slightly tilted) gives a new perspective that helps.
Thanks for catching that typo — fixed. For jaw corners, try approaching from a slightly different angle and stretch the skin more. Short controlled strokes help.
Useful guide overall, but I felt the ‘Consistency and Symmetry’ part could use a few more concrete measuring hacks. ‘Measure twice, cut once’ is a great motto, but how do you measure on a curved face without a ruler? Maybe include templating or simple caliper substitutes?
Thumb-to-index finger measurements work surprisingly well. Also take photos head-on between attempts to compare symmetry.
Good point — I should add low-tech tips: use a flexible eyebrow ruler, mark reference points with a washable marker, or compare distances using your finger widths. Will update the post soon.
Some real nitty-gritty measuring tips:
– Use a washable eyebrow pencil for temporary guide points.
– Take a front-facing photo at each stage and compare in a split-screen app.
– For precise mirroring, measure from the centerline to the corner of the line with your finger and mark both sides.
These tiny hacks saved me hours of redraws.
Great array of hacks — thank you all. I’ll include a short tools list for symmetry in the update.
Another trick: use removable guide stickers (from beauty stores) to mark reference points. Cheap and precise.
Finger-measuring is what I use in a pinch. Works like a charm.
Fantastic practical tips — I’ll fold these into the symmetry section. Photos especially are underrated for objective comparison.
Split-screen comparators are clutch. I do before/after and it shows the tiniest asymmetries.
Grip and stance section made me feel like a samurai… until I actually tried it and looked like I was shoveling snow. 😂
Where do you put your free hand? On the skin to stretch or on the jaw for support? Both work?
Also remember stance matters — feet shoulder-width, elbow relaxed. Less tension = cleaner strokes.
I brace my palm on the cheekbone and use two fingers to stretch — steadier and less dramatic-looking than samurai stance 😅
If you look like you’re shoveling, you’re probably over-gripping. Relax the wrist and keep it fluid.
Both can work depending on the area. Use your free hand to stretch the skin taut when doing delicate zones. For broader areas, rest it lightly on the jaw for stability.
Hand steadiness has been my nemesis. Any drills to steady your wrist off-razor? Practised with a butter knife lol, not ideal. 😅
Chopstick trick sounds doable. Trying it tonight — thanks!
I used a chopstick and traced lines while watching TV — surprisingly effective and low-risk.
Drills: trace straight lines on paper with a ruler-free hand, practice slow mirrored strokes with a blunt tool, and do wrist-strengthening exercises like light dumbbell rotations. Also rest between attempts.
I appreciate the step-by-step, but I wanted more photos or a short video showing the 30-degree angle and wrist position. Words are great but visuals would help a lot. Maybe add an overlay or diagram? Pretty please 🙂
Totally agree — visuals help. I’m planning to add a few annotated photos and a short clip demonstrating the angle and stroke. ETA: next update!
Thanks for the nudge — I’ll prioritize that for the next revision.
Diagrams work too. I learn better from pictures than long paragraphs.
Yes! A slow-mo of the stroke would be fantastic. Even a GIF of the 30° angle would clear up confusion.
Step 4 (Stretch, Slide, and Stroke) is gold. My tip: reset your wrist between strokes instead of dragging through a long arc — micro-strokes for control. Also, oil the blade lightly before storing 😉🪒
Micro-strokes + light oil = long happy life for the blade. Amen.
Oiling saved my old razor. Just use camellia or mineral oil, tiny drop goes a long way.
Also fwiw: don’t store in a damp bathroom. Keep it dry and ventilated.
Micro-strokes are excellent advice for precision. And yes, a light oiling after drying helps prevent rust—especially for carbon steel razors.
Adding recommended oils and frequency to the maintenance section — thanks for the nudge!