Zero-Gap Fades Start with Perfectly Aligned Blades
Learn a simple six-step routine to align and secure clipper blades for smooth, pull-free ZERO-GAP fades. This practical guide walks you from prep through testing and upkeep so your clippers cut clean, consistent lines every time with confidence and speed.
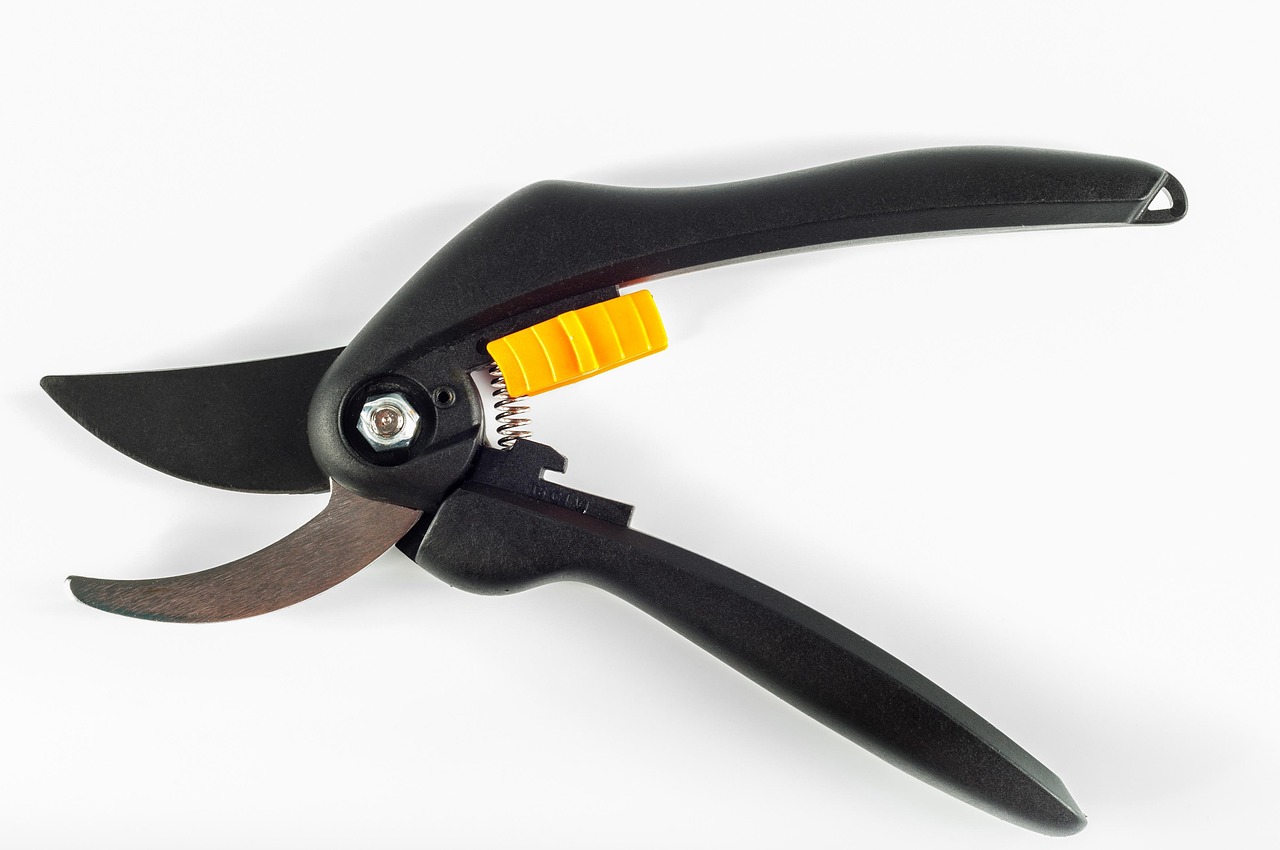
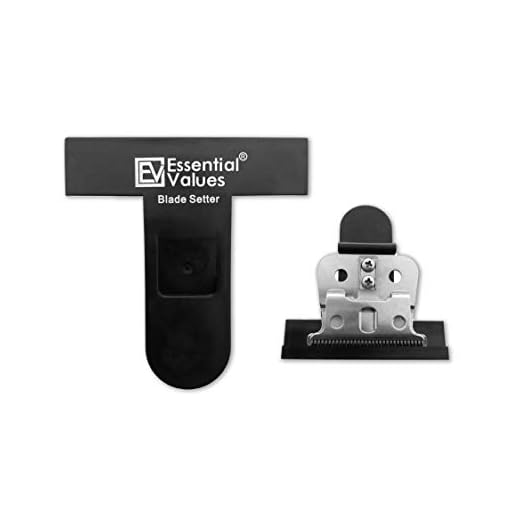
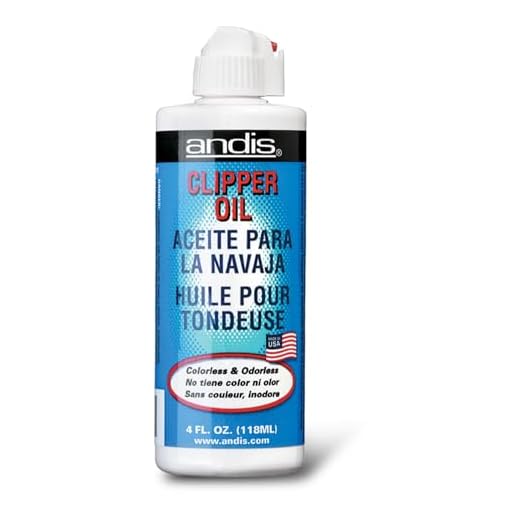
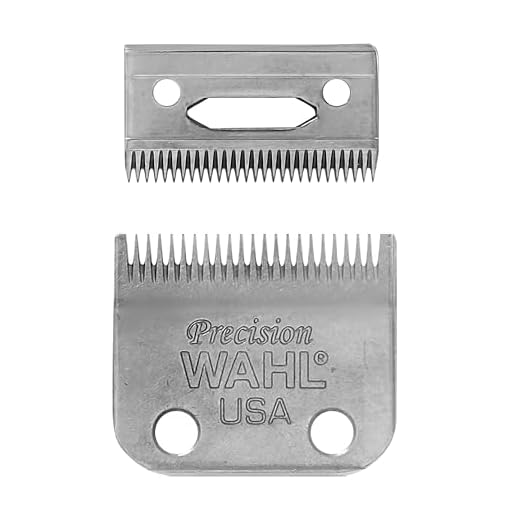
What You’ll Need

Step 1 — Set Up a Clean, Stable Workstation
Want pro accuracy? Start like a surgeon — good lighting and no distractions.Clear a flat surface near an outlet and position a bright lamp so you can see small alignment details.
Lay a towel or microfiber cloth to catch tiny screws and parts; remember a dropped screw can vanish into carpet in seconds.
Unplug your clippers and remove any guards or combs before you start—safety first.
Arrange tools and supplies within arm’s reach: screwdrivers, blade brush, small container for hardware, and blade oil.
Ground yourself by touching a metal pipe or wearing an anti-static wrist strap to reduce static and steady your hands for precise alignment.
Step 2 — Inspect Blades and Identify Alignment Issues
Is the blade guilty or is the motor? Don’t guess — inspect for nicks, gaps, and wear.Examine both the stationary and moving blades for damage. Look for bent teeth, chips, or uneven wear — a single bent tooth can tug hair or leave a visible line.
Inspect the housing and blade screws for looseness or missing hardware. Sight along the blade edge to check for warping; a straightedge or the edge of a ruler helps.
Run a quick hands-on check:
Run the blade by hand (unplugged) to feel for wobble. Note whether the moving blade rides centered over the stationary blade or tilts — this diagnosis guides your adjustments.
Step 3 — Remove, Clean, and Prepare the Blades
Out with grime: clean blades cut better and align truer than dirty ones.Unplug the clipper. Remove the screws holding the blade assembly and lift the blade off, keeping parts organized. Use a magnetic tray, labeled small cups, or stick screws to a piece of tape so nothing gets lost.
Brush away hair and grit with a soft brush or old toothbrush. Wipe blade faces and screw threads with alcohol wipes or a cloth dampened with 70%+ isopropyl to remove old oil and buildup. Dry parts thoroughly with a lint-free cloth or compressed air to prevent rust.
Lightly oil pivot points and sliding surfaces to lubricate before reassembly. Clean components settle into alignment more reliably than sticky, grimy parts.
Step 4 — Rough Align and Set the Zero-Gap
Zero-gap without buzzing? Yes — but start loose, then tune in tight increments.Reattach the stationary blade to the housing and loosely fit the mounting screws so the blades can move. Place the moving blade against the stationary blade, lining the front tips flush and the cutting edges perfectly parallel.
Gently tighten the screws in small increments until the blades sit together without any sideways tilt or uneven contact. Check the front tips with your eye and a fingertip glide—tips should meet like two comb teeth, not overlap.
If you have a feeler or thin shim, slide a hair-thin clearance at the back for a controlled initial gap, then ease the screws to lock this zero-gap setup in place.
Step 5 — Secure Screws, Test Run, and Micro-Adjust
Tighten like a pro: even pressure, small turns, and a test clip to prove it.Tighten the mounting screws in small, alternating turns—about a quarter turn per screw—so the blades seat evenly. Do not over-torque; a firm, snug feel is enough. For example, tighten screw A, then B, then A again until both are snug.
Reconnect power and run the clipper away from your ear to listen for vibration, chatter, or contact noise. Then test on a small patch of hair or a mannequin head. Look for:
If you encounter issues, make micro-adjustments: slightly loosen one screw and nudge the blade laterally, change the blade angle by a hair’s width, or ease screw tension a touch. Repeat test runs until the clipper cuts smoothly and runs quietly.

Step 6 — Maintain and Troubleshoot for Longevity
Keep it sharp: short maintenance beats constant re-adjusting later.Establish a routine: clean and oil blades after every use, wipe debris with a brush, then apply 1–2 drops of quality clipper oil along the teeth. Do this immediately—dried hair traps moisture and corrodes edges.
Tighten mounting screws weekly. Use small, alternating turns until snug. Swap to a spare blade set when precision fades instead of forcing a dull blade.
Inspect and act on symptoms quickly. For example, if the clipper becomes hot after 3–5 minutes during a busy morning, stop and check for dull blades or trapped hair.
Store blades dry and lightly oiled in a sealable case. Replace or sharpen blades at first sign of tugging to preserve zero-gap performance.

Finish Strong — Confident, Clean Fades Every Time
Follow these six steps consistently to master zero‑gap alignment; regular care and testing keep clippers smooth, reducing nicks and pulls. Give it a try, share your results, and tag us!


Short and sweet: the guide fixed my gap issues in one afternoon. Wasn’t even that complicated once I followed the steps. Props.
Great to hear, Ethan! Thanks for the quick update — that’s exactly what we hoped readers would get out of it.
Long comment because I had a long day experimenting:
I followed the whole guide and focused on tiny micro-adjusts in Step 5.
Result: way smoother fades and fewer pull-outs. Two practical things I learned:
– Use a loupe or jeweler’s glass for the final zero-gap check.
– Mark your ‘go-to’ screw positions with a tiny dot of paint so you can reset after cleaning.
Small additions but they speed up the process. Thanks for the clear steps — kept me on track.
Ps: anyone else accidentally oil the screw threads and wonder why they loosen? yeah don’t do that 😂
The paint dot trick is genius. I’m totally doing that from now on.
All excellent contributions. We’ll add a caution about oiling screw threads and mention low-strength thread locker as an option with a warning.
Oiled threads cost me a client once — learned the hard way. Now I use a tiny dab of thread locker on some screws (low strength) for pieces I don’t adjust often.
Love the paint-dot idea — brilliant for repeatability. And haha yes, oiling threads can cause slippage; keep oil on the blades only.
Thread locker is okay but be careful — test it first so you don’t end up with an immovable screw when you need to replace blades.
I like the clarity but I think Step 4 could use more pics. I still worry about over-tightening screws in Step 5 — had a stripped head once. 😬
Really enjoyed the troubleshooting section. One tiny gripe: the troubleshooting list is missing a clear fix for inconsistent cut length when the zero-gap is correct. Anyone else see that?
Solid walkthrough. A few extra notes from my experience:
– When you remove blades in Step 3, lay the screws in order on a paper towel so you don’t mix them.
– For Step 4, use a magnifying glass if you wear contacts — tiny misalignments are maddening.
– Step 6: keep a spare blade set. Saved me when a client wanted a last-minute razor finish.
Also, lol at my first zero-gap attempt: looked like I tried to shave with a cheese grater 😂
Paper towel trick = lifesaver. I use a small ice tray to keep screws separated by position.
Cheese grater image — same. Took me too long to realize the top blade wasn’t seated properly.
Thanks for the extras, Sophie — the ice tray idea is clever. We’ll mention laying out parts in order in Step 3.
Spare blade set is essential. Don’t be cheap here, it’s worth the peace of mind.
Great guide — the step-by-step layout is super helpful.
I especially liked Step 1: setting up a clean workstation made a bigger difference than I expected.
Quick tip from my side: use a small desk lamp at a low angle to catch misalignment shadows.
Tried the micro-adjust in Step 5 and my fades came out way crisper.
Thanks for including maintenance tips at the end — saves me time between clients.
Any desk lamp works tbh, but one with adjustable brightness + gooseneck is the best. Saves your back too.
Awesome, Liam — glad the lamp trick worked! Good call on lighting; it really helps spot tiny gaps when aligning the blades.
Nice tip — what kind of lamp do you use? I’m always fumbling in low light.
Confession: I used to think zero-gap was voodoo until I actually aligned the blades properly.
The guide nails the order — inspect, clean, rough align, then set zero-gap.
My only gripe: the cleaning section (Step 3) is a bit brief — I want a recommended cleaning solvent list.
Also, the troubleshooting in Step 6 saved me when my clipper buzzed after reassembly.
10/10 would reread before my next fade.
Great additions — I’ll update Step 3 to include toothbrush, compressed air, and iso alcohol recommendations. Appreciate the feedback!
Thanks, Noah — good point. For solvents, we usually recommend isopropyl alcohol (70%+) for debris and a few drops of clipper oil for moving parts. I’ll add a short list to the guide.
Agree on the solvent list — plus a soft toothbrush helps get hair out of the tiny crevices before oiling.
I also use compressed air (short bursts) after brushing — gets the dust out without soaking parts.
If you’re worried about the screw heads, use a high-quality precision screwdriver and put a bit of tape on the head to stop slipping.
Couple quick questions for experienced folks: when you tighten the screws in Step 5 do you torque them fully or leave them slightly loose and test run first? I read conflicting methods.
Also, any suggestions for preventing blade overheating during long sessions?
Good question. We recommend snugging screws so blades don’t shift, but not full-force torque until after a short test run. If everything’s good, finish tightening. For heat: keep a small bottle of clipper oil handy and oil every 15-20 mins during long runs; also give the clipper short breaks.
If you don’t have backups, open the clipper (carefully) and let it cool for a few minutes between clients. Also keep vents clean.
Exactly — test run before final torque. For heat, a quick spray of cooling lubricant works, or rotate clippers if you have backups.
This guide made me stop calling my clippers haunted. 😂
For people struggling with Step 2 (inspect blades), I find taking a photo with flash and zooming in helps spot tiny chips or warps.
Also: don’t forget to check the clipper housing alignment — sometimes that’s the culprit, not the blades.
Photos with flash are a great diagnostic — thanks for sharing that tip, James. Housing misalignment is often overlooked; we’ll add a note to Step 2.
Housing alignment saved me once — replaced a warped housing and it fixed the uneven cuts instantly.
Tried this yesterday. Two things:
1) The rough align took way longer than I expected (my fault, rookie hands).
2) The zero-gap held after a whole day of cuts — huge win.
Would love a short video for the micro-adjust part.
If you’re new, go slow and make tiny turns on the screw. I put a piece of masking tape over the blade edge while testing to avoid accidental nicks when learning.
A video is a solid idea — we’re planning to add one showing the micro-adjust motions and how to check for blade contact without nicking skin.