Why Texturizing Wavy, Thick Hair Transforms Your Look
Texturizing unlocks movement, reduces unwanted bulk, and enhances natural waves; this step-by-step guide helps you choose methods, prepare properly, and apply safe techniques so thick wavy hair behaves with more definition and less weight for easy styling every day effortlessly.
What You'll Need
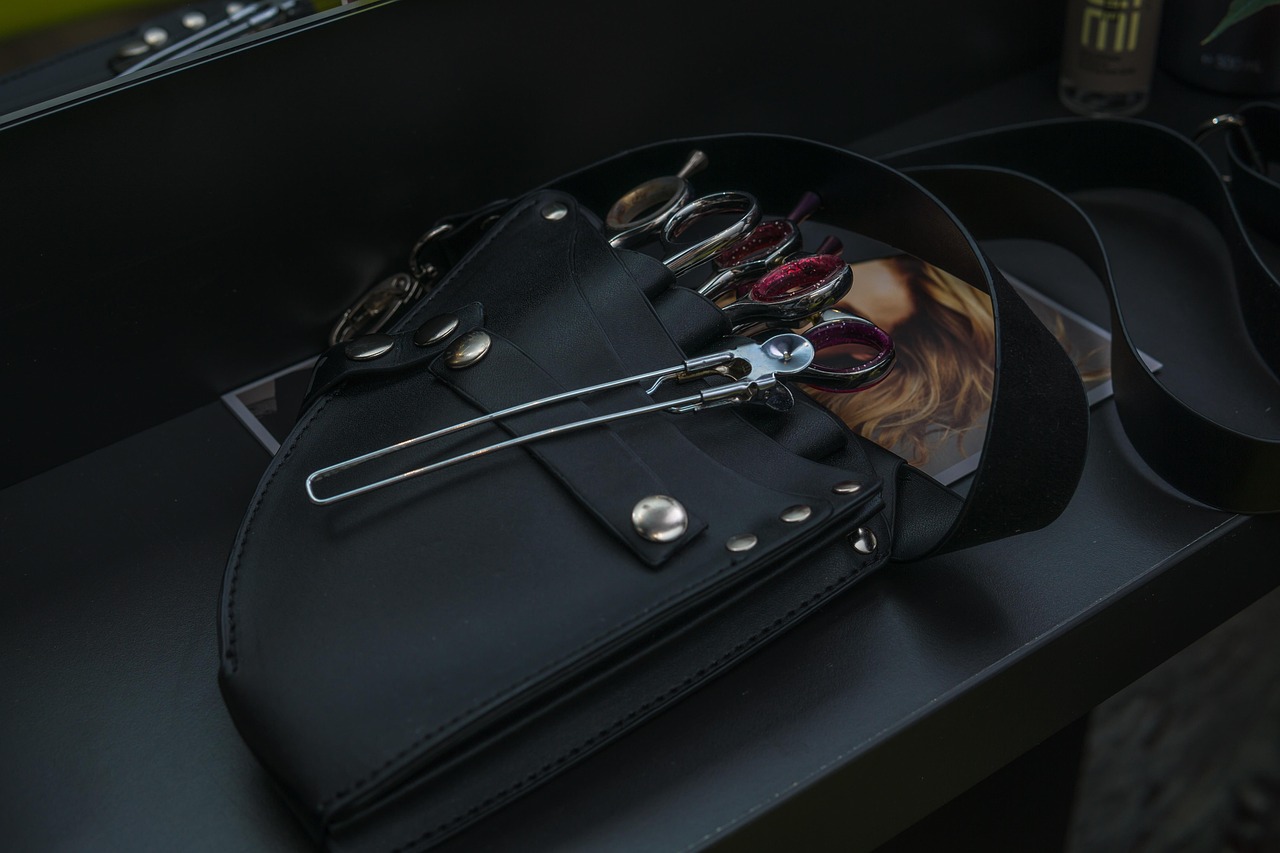
Sharp haircutting shears, thinning shears, optional razor, wide-tooth comb, clips, spray bottle, towel, mirror, basic cutting knowledge, light styling cream or mousse/salt spray, and patience.
How to get textured, wavy hair as a guy
Step 1 — Assess Hair and Set Clear Goals
Not every wave is the same — how do you pick the right texture?Evaluate density, wave pattern, porosity, and the client’s styling habits. Inspect hair both wet and dry — thick wavy hair can collapse when wet, so judge the final shape on dry hair.
Photograph the hair from multiple angles and use the photos to set expectations with the client. Identify problem zones and mark the areas you’ll target:
Discuss the desired outcome: reduced bulk, more movement, piecey ends, or a lived-in look. If unsure, plan conservative changes and test on a small section first. Clear goals prevent over-texturizing and ensure a manageable outcome.
Step 2 — Prepare: Clean, Condition, and Detangle
Clean canvas = better texture — why prep is non-negotiable.Wash with a moisturizing but lightweight shampoo; avoid heavy conditioners that flatten waves. Rinse fully.
Apply a slip conditioner to detangle, work through with fingers, then rinse thoroughly. Towel-blot to remove excess water—don’t rub.
Work with hair slightly damp for most texturizing cuts; start dry if you plan curl-by-curl dry techniques. Apply a small amount of leave-in or lightweight detangler to control frizz and tension.
Gently comb from ends to roots with a wide-tooth comb to remove knots. Section into manageable panels—for example, four panels for shoulder-length hair or six for very thick hair—clipped away so you can control tension and movement.
Proper prep reduces uneven cutting and helps you see natural wave clumping for accurate texturizing.
Step 3 — Choose Tools and Section Strategically
Right tools make the cut — don’t skimp on quality.Select tools based on density and desired effect. Use thinning shears to remove bulk without changing length, a razor to create soft, feathered ends, and point-cutting shears to add texture and movement—e.g., thinning shears for heavy roots, razor to soften blunt ends.
Section strategically. Clip hair into quadrants (crown, sides, back) and work with horizontal subsections. Clip hair, then release thin slices for control. Work in thinner subsections for very thick hair to avoid uneven shaping.
Maintain consistent tension—too much stretches waves and skews results. Keep a spray bottle nearby to re-wet sections if necessary.
Remember: good sectioning and the right tool choice are half the success of texturizing.
Step 4 — Apply Texturizing Techniques (Safe, Controlled Cuts)
Science-backed moves: which technique gives the waves their best life?Begin conservatively: remove small amounts, then re-evaluate how the waves fall before cutting more.
Hold sections vertically and point-cut into the ends to soften and create movement—ideal for blended layers; for example, snip short vertical strokes at the crown to break heaviness.
Slide scissors down the hair to slide-cut and feather lengths; use lightly on very dense areas and avoid over-sliding near ends.
Use thinning shears at mid-lengths or bulk zones to reduce weight without changing length; avoid the last inch to prevent frizz.
Use a razor for softer, lived-in edges on healthy hair; avoid razors on very porous or fragile strands.
Work symmetrically and constantly check how waves fall.
Step 5 — Dry Cut, Blend, and Shape for Natural Movement
The secret? Dry cutting and blending — it’s what pros do after the first snip.Air-dry or towel-blot and let hair partially or fully dry, then re-evaluate the shape—dry cutting shows true wave behavior. Watch how waves fall and work in small, controlled actions.
Make small point-cuts into grouped waves to break weight and encourage separation. Trim heavy mid-lengths with horizontal snips to remove bulk and refine the outline. Blend layers by softening any blunt transitions with short vertical cuts.
Cross-check balance constantly: compare both sides and tilt the head into natural positions to see how waves frame the face.
Step 6 — Style, Protect, and Plan Maintenance
Keep the texture alive — styling hacks that last a week.Finish with a gentle scrunch and diffuse on low heat or air-dry to set defined waves; avoid high heat to preserve pattern.
Use lightweight creams (pea-sized), sea-salt sprays, or mousses to boost texture without weighing hair down.
Always apply a heat protectant before any hot tools.
Refresh daily by dampening hair lightly, scrunching in a small amount of product, or misting and finger-shaking to revive waves—e.g., spritz water + leave-in and squeeze.
Final Notes: Own Your Texture
Texturizing thick wavy hair is subtle, strategic weight removal and thoughtful shaping. Begin conservatively, always recheck with hair dry, and prioritize movement and manageability. When unsure, seek a professional’s eye — are you ready to gently embrace your hair’s natural flow?


Tried the routine today. Prep (Step 2) really made a difference — my waves looked less frizzy after the conditioner rinse.
One question: when you say “dry cut” in Step 5, do you mean totally dry (no product) or just towel-dried? Curious bc my hair behaves differently depending on humidity.
Agree with admin — cut it how you wear it. I cut my hair slightly damp once and spent weeks regretting it lol.
Great question, Nina. By “dry cut” we mean hair should be air-dry or fully blow-dry so you can see its natural fall. Light product (like a salt spray) is fine if you usually style with it — just avoid heavy creams before cutting. Humidity can alter shape, so cut in the state closest to how you usually wear your hair.
Love the tone of the guide — practical and not preachy. That said, I’m still waiting for the magical scissors that make my hair behave itself. 😂
Also, the ‘Own Your Texture’ final note hit different. Took me years to stop fighting my waves.
Also, small PSA: don’t try aggressive thinning near the crown unless you like cowlicks for days. Learned that the hard way. 😉
Cowlicks are the WORST. A little layering and some product has helped tame mine though — styling step is underrated.
Right? If those scissors exist, someone please send them my way. In the meantime, embracing the mess is the next best thing 😄
Haha — same here on the wish for magical scissors. The goal of the techniques is to work with the hair’s natural tendencies rather than fight them, which is why the guide emphasizes blending and dry shaping.
This guide is sooo helpful — I did the assess + prep steps last weekend and already see a difference.
Quick notes from my trial:
– Took extra time on Step 2 to really detangle (my hair fights me otherwise).
– Step 4’s controlled cuts were scary at first but the dry cutting in Step 5 made blending way easier.
Thanks for including maintenance tips — I always forget to plan touch-ups 💀
So glad it helped, Laura! If your hair tangles easily, try leaving a tiny bit more conditioner in the ends during Step 2 — it helps the sections sit smoother for cutting. For future trims, a lightweight leave-in or detangling spray before sectioning reduces snags during texturizing.
Point cutting worked better for me — more natural movement. Thinning shears can make things weird if you overdo them.
Nice! Did you use thinning shears or point cutting? I keep second-guessing which to use on thick wavy hair.
Short and sweet: this guide saved me from a DIY disaster. The step-by-step is clear and I appreciated the maintenance planning part — so many guides forget that part.
One tiny nitpick: maybe mention recommended scissor brands or sizes for thick hair? Not required but would be helpful for beginners.
If budget’s a concern, look for Japanese steel for longevity. And yeah, sharpening matters more than brand imo.
Thanks, Maya — glad it helped! I’ll add a short section on recommended tool specs (blade length, convex vs. beveled, and when to use thinning shears). For thick hair, a 6–7 inch scissor with good sharpness and ergonomic handle is a common pick.
Pretty solid walkthrough, but I wish there were more pics or diagrams for Step 3 and Step 4. It’s one thing to read about sectioning and another to actually visualize where to start.
Also, the bit about “safe, controlled cuts” is important — maybe add a short checklist of common mistakes to avoid?
Good call, Ethan. I’ll add diagrams for sectioning and a checklist of common mistakes (over-thinning mid-lengths, cutting too much when wet, inconsistent tension). Meanwhile: start with 4 main sections (left/right, top/bottom) and work in small subsections — that usually helps with control.
Another tip: mark your parting and cowlicks before cutting so you don’t accidentally create weird volume spots.
If it’s any help, youtube videos of stylists doing dry texturizing are golden. Combine the guide with a vid and you’re set.
100% agree on the pics. I learned the hard way and ended up having to even out layers for MONTHS 😅
Adding: for thick hair, consider working with slightly smaller subsections than you think — it feels slower but gives cleaner results.