Start Texturing: Transform Hair with Intent
Discover why textured haircuts are versatile and modern. This step-by-step guide, from consultation through styling, shows simple techniques to create natural movement, easy manageability, and flattering shaped results for every hair type, adding long-lasting dimensional interest.
Tools, Products, and Skills You'll Need
Elevated textured fringe haircut tutorial
Plan the Look: Consultation & Face-Shape Mapping
Want a haircut that flatters your face and lifestyle? Start here — it saves hours of styling later.Begin with a focused consultation: ask about daily routines, desired maintenance, and hair history so you know how the client cares for their hair and what they’re willing to do each day.
Assess hair density, texture, cowlicks, and natural growth patterns. Palpate the crown, check parting tendencies, and note any stubborn cowlicks that will affect movement.
Decide the silhouette and focal points by mapping facial features and identifying where attention should land. Consider examples: a long face may suit soft layers around the jaw; a square jaw can be softened with face-framing texture.
Sketch or show reference photos and confirm expected movement and volume.
Prep the Canvas: Washing, Drying, and Sectioning
Good prep equals better results—did you know wet vs. dry cutting changes the entire feel?Choose whether to cut wet for precision or dry to see real-world movement.
Shampoo or dampen hair and detangle gently, working from ends to roots to prevent breakage.
Apply a lightweight product if you’ll cut dry to enhance definition — a spray or light mousse works well.
Section the hair into clear zones and label guides:
Use clips to separate sections and keep hair tidy.
Work from the bottom up so your guide lengths stay consistent and you avoid accidental overcuts.
Test on a small subsection: cut dry to check natural swing on a textured bob or cut wet for razor-sharp blunt edges.
Establish a consistent parting and guide lengths to avoid unevenness as you progress.
Create the Foundation: Cutting the Base Shape
Forget one-length boredom — build a strong base that supports texture.Start with the perimeter to lock in overall length and shape. Trim the nape and sideburn areas first, using a comb to hold hair straight and cutting small sections for control. For example, drop the nape to 1/2–1 inch on a cropped style or follow jawline length for a bob.
Trim central guide points next to establish the basic weight line. Move to the center back and both sides, cutting to the same guide.
Set key guide layers at the crown and mid-lengths for layered looks. Use blunt cuts or slight point cutting at the ends to create a solid yet workable foundation.
Use these quick checks:
Check symmetry frequently and correct immediately to avoid rework.
Add Texture: Shears, Razors, and Point Cutting
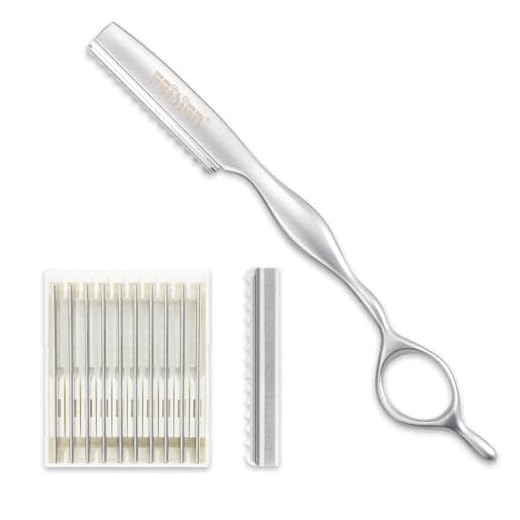
Texture is the secret sauce — which tool gives which effect? Here’s the cheat sheet.Choose your texturizing technique by hair type: thinning shears for heavy density, point cutting for soft breakup, razors for wispy ends and movement.
Work in small 1/4–1/2″ sections and check the effect after each pass.
Remove less first—you can always add more if needed.
Focus on mid-lengths and ends to maintain a clean perimeter and avoid ragged outlines.
Use vertical point cuts on layered pieces and employ gentle slicing motions to prevent weighty ladders.
Blend sparingly with thinning shears, making only a few snips to avoid creating holes.
Try thinning shears mid-length on thick hair and try point cutting the ends on fine hair for airy, natural results.
Blend & Refine: Tame Harsh Lines and Add Movement
How do you make choppy layers invisible? Smart blending and detailing do the trick.Soften harsh transitions by cross-checking layers vertically and horizontally. Lift sections with a wide-tooth comb and remove small amounts at a time so you don’t over-thin.
Check texture with the hair in its natural fall position; move your hands like a viewer would in real life. If a cowlick or stubborn growth appears, layer strategically—cut shorter pieces around the problem area to reduce bulk and let the hair lie flat.
Refine the hairline, bangs, or fringe by point cutting in tiny increments for a soft edge. Texturize tips with light, angled snips to prevent blunt ends. Rebalance crown volume by removing weight where the head needs movement, then reassess overall shape in motion.
Style and Maintain: Products, Tools, and Home Care
Keep the cut looking salon-fresh for weeks — simple daily moves make all the difference.Blow-dry with fingers or a diffuser to lift roots and define natural movement.
Spritz salt spray for grit and texture; scrunch while drying for a lived-in look.
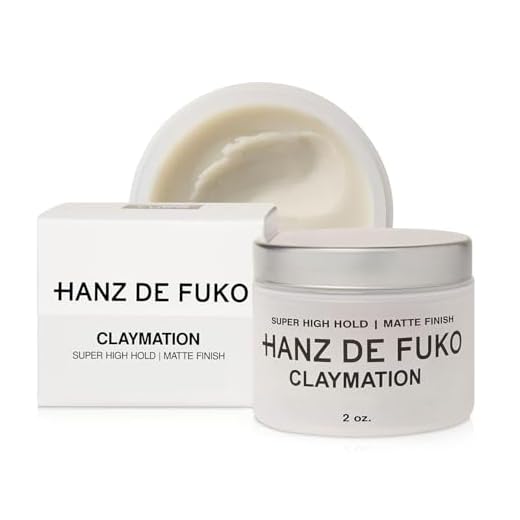
Apply mousse at roots for lift or a light pomade on ends for separation—use pea-sized for fine, dime-to-nickel for medium, quarter-sized for thick hair.
Tackle issues: for limp hair, boost roots with mousse and blow-dry upside down; for frizz, use a small smoothing serum; for overly choppy cuts, soften edges with a wide-tooth comb and pick out heavier weight.
Finish with Confidence
Recap the flow: plan, prep, cut base, texture, blend, and style. Practice gradual texturizing, confirm expectations, and prioritize flattering, low‑maintenance results. With patience and clear communication, you’ll build consistent, wearable textured haircuts—are you ready to refine your skills and craft?


Heh, who knew hair could have so many maps and plans. Felt like prepping for a tiny architectural project 😅. Useful though!
Architecture is a great analogy — structure first, texture later. Glad the guide translated well!
Neutral take: solid fundamentals but the razor section could use more safety cautions. I tried razoring once and nicked a lot of hair length away. Maybe include a ‘first-time razor’ checklist?
Okay this is long but real talk — I tried the whole guide yesterday and here’s my messy report:
1) Prep the Canvas: I over-sectioned and then panicked lol
2) Create the Foundation: went too short on one side (human error)
3) Add Texture: the point-cutting saved me! THANK YOU 🙌
4) Blend & Refine: probs the hardest part, still kinda uneven
5) Style & Maintain: texturizing spray was a game changer, not greasy at all
6) Finish with Confidence: fake it till you make it 😂
Would love micro-tips for fixing uneven sides and for practice drills to get the angles right.
Thanks for the honest walkthrough, Nina — love the step-by-step feedback. For uneven sides try vertical point cutting and then thin the heavier side slightly with thinning shears; practice drills: repeat a basic diagonal cutting motion on mannequin heads focusing on consistent elevation and tension.
We’ll include a short checklist for fixing uneven sides in the next edit and add recommended mannequin drills. Thanks for the ideas!
Nina — practice on a wig or mannequin is so helpful. Also mark reference points (ear to chin etc.) to keep lengths even.
Also, use clips to clamp the shorter side out of the way while you work the longer side — helps you avoid cutting more accidentally.
If one side is shorter, you can slightly over-texture the longer side to blend, then check movement. Took me ages to learn that one 😂
Loved the step-by-step — super clear!
Start Texturing section made me rethink how I approach a cut.
I especially appreciated the face-shape mapping in “Plan the Look” — saved me from that one awkward length.
The part about using razors vs shears was eye-opening; I always overuse razors.
Small nit: could use more pics of blending between layers, but overall great guide.
If anyone wants, send a before/after (with permission) and we can include anonymized examples showing the blending steps.
Totally agree — pics would help. I tried the point cutting tip and it rescued a choppy bob I gave myself 😂
Thanks Maya — glad it helped! Good call on the blending pics; we’ll add more visuals in the next update and a short video demo for the razor vs shears examples.
This tutorial was actually fun to follow. I did a layered lob using the “Create the Foundation” + “Add Texture” combo and it turned out so much better than my usual blunt chops.
Also loved the “Finish with Confidence” bit — it’s a relief to be reminded to step back and check movement before calling it done.
Would be cool to see a quick troubleshooter: e.g., “If ends look too wispy, try X” or “If too choppy, do Y”.
We’ll include specific back-of-head rescue steps too — thanks for the suggestions.
Yes please for the troubleshooter — I always end up over-texturizing the back and need rescue steps.
Ava same! Back-of-head problems are real. Blending shears + a comb usually saved me so far.
Thanks Sophie — awesome to hear it worked for your lob! Good idea on a troubleshooting cheat sheet; we’ll draft one showing fixes for common issues (wispy ends, choppy layers, uneven weight).
Great guide. A couple of practical questions:
1) For very thick hair, would you recommend starting dry or slightly damp for the texturing step?
2) Any product recs for keeping movement without weighing hair down?
Would love a short product list linked to the “Style and Maintain” section.
Agree on the 80% dry tip. Also, a few passes with thinning shears at the ends can help before you get too aggressive with razors.
Nice questions, Lily. For very thick hair we usually texturize when it’s ~80% dry so you can see the natural fall. For products, lightweight mousses or texturizing sprays work best — avoid heavy creams unless you want weight. We’ll add a mini product list.